

Steel Mesh Welding Production Line Manufacturer Guide for Modern Fabrication Needs
2026-08-26
Every modern fabrication floor eventually runs into the same wall: off-the-shelf steel mesh welding lines can't keep pace with tighter tolerances, mixed material specs, or sudden shifts in production volume. The real bottleneck isn't always the welding itself—it's choosing a manufacturer who understands your process before the first drawing is signed. This guide strips away the jargon to show what a steel mesh welding production line manufacturer should offer for today's fabrication needs, from adaptive controls to modular scalability. If you're tired of retrofitting your workflow around someone else's standard design, it's time to meet YI ZHOU TECHNOLOGY, where production lines are built around your specs, not the other way around.
Specs Alone Won't Tell You If the Line Holds Tolerance
A spec sheet gives nominal dimensions and tolerances, but it says very little about how consistently a line actually performs. Two suppliers can quote identical ±0.05 mm limits, yet one drifts after warm-up while the other holds centerline for an entire shift. Without data on repeatability, temperature drift, tool wear, and measurement variation, the printed tolerance is closer to a wish than a guarantee.
The real question is not whether the drawing allows a certain deviation, but whether the process stays inside that band hour after hour. Short-term capability studies can look impressive while long-term output wanders off target. That is why you need run charts, Cpk or Ppk over time, gage R&R, and samples drawn from more than one shift or batch before trusting a line.
Equipment rigidity, fixture condition, operator influence, and incoming material variation all shape whether tolerance is actually held. If you only compare datasheets, you miss these factors. A line that holds tolerance on Monday may not hold it on Friday, or with a different operator, or after cutting edges dull. Specs describe intent; process behavior proves it.
Where to Place the Straightening Unit for Fewer Wire Jams
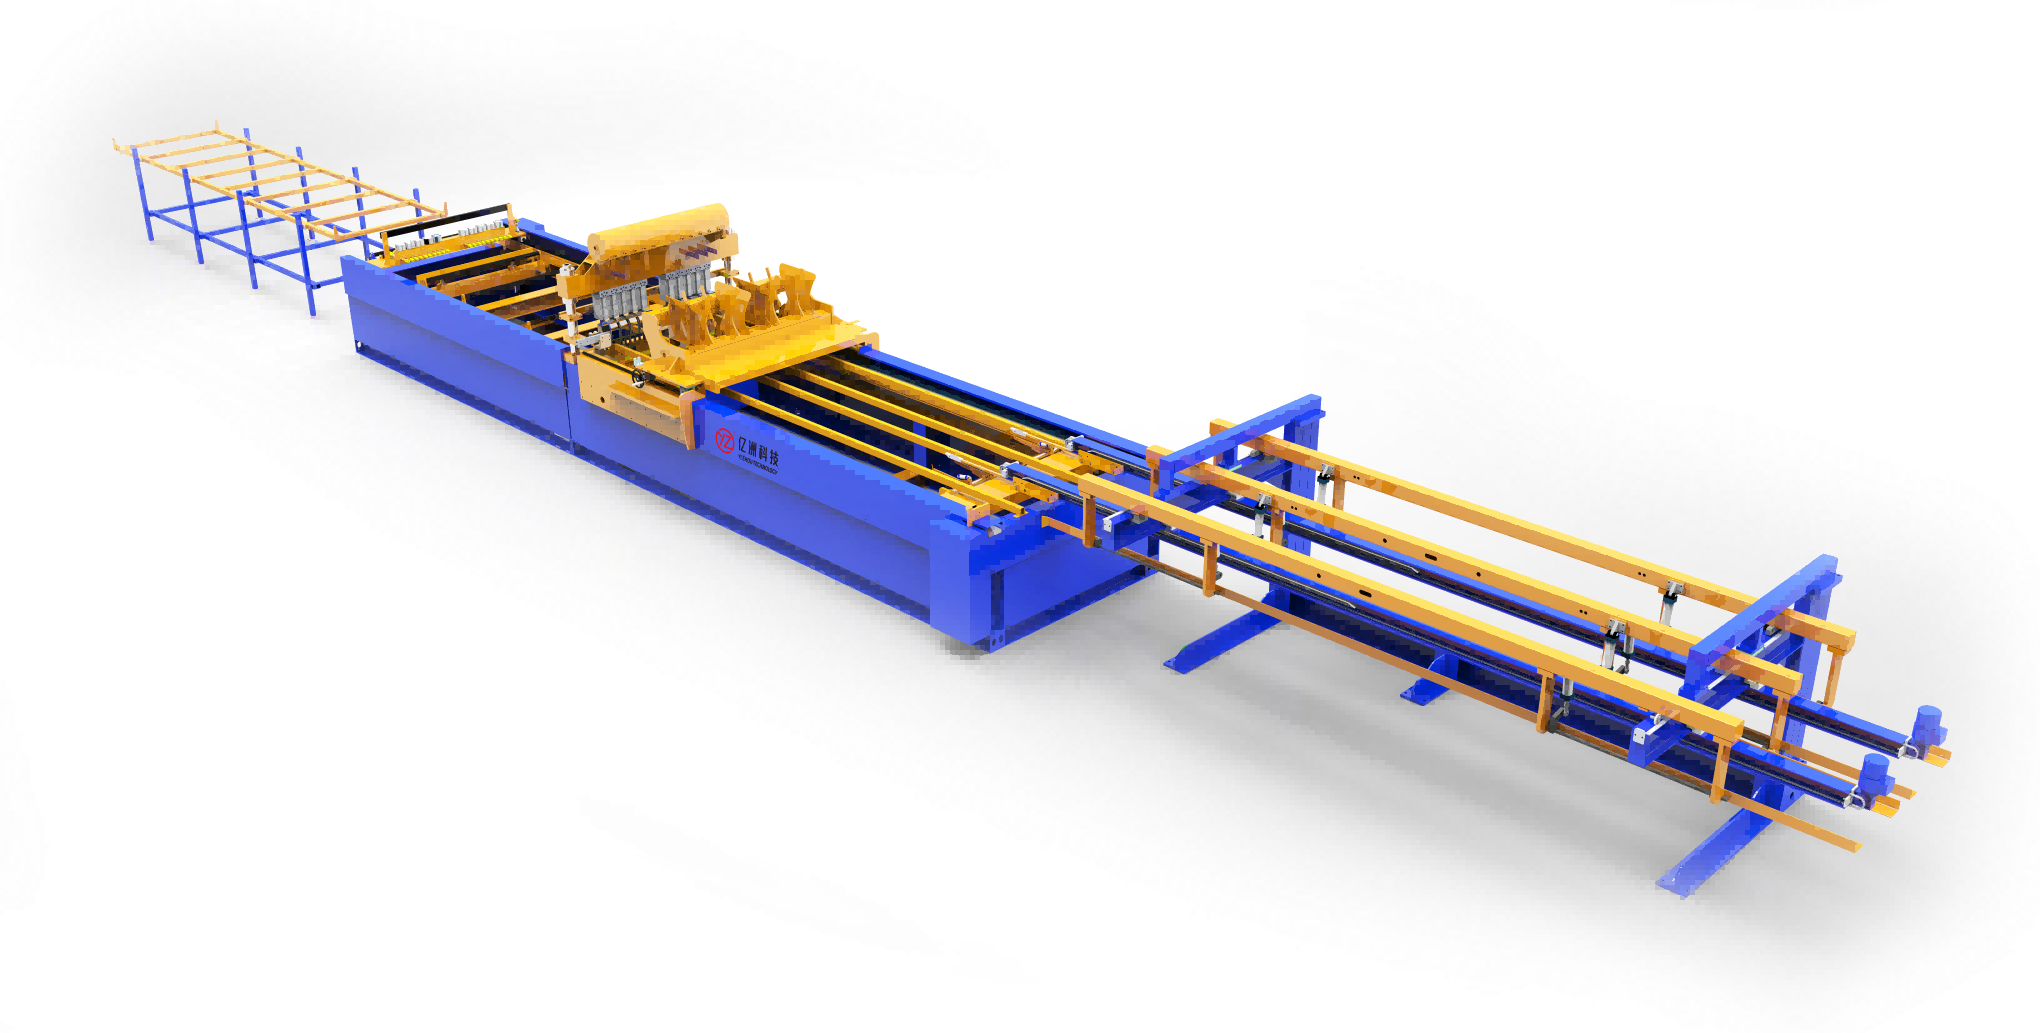
The straightening unit works best when it sits right after the dereeler and before the first fixed guide. Any curve or pulley placed ahead of the straightener forces the wire to take a set, and the straightener then has to fight that extra bend. Keeping the entry side free of guides, tubes, or rollers for at least a couple of feet reduces the chance of the wire entering at a slight angle. A short, clean lead-in lets the wire approach the first straightening roller in its natural cast instead of being pushed sideways.
Distance to the feed mechanism matters more than most people expect. If the straightener is too far from the feed rollers, the wire can whip or kink between the two points, especially at higher line speeds. If it's too close, the straightener can receive uneven pull from the feed, which creates intermittent flats or over-bends. As a practical starting point, leave a free span of roughly 10 to 20 times the wire diameter between the straightener exit and the feed entry, then adjust up or down based on how the wire behaves at running speed.
For lines using both a pre-straightener and a final straightener, put the pre-straightener immediately after the dereeler to take out the coil cast, and place the final unit just before the drive rolls or the first work station. This split placement lets each unit handle one job instead of one overworked straightener trying to correct everything at once. Also check that the straightener's centerline matches the wire path exactly; even a small offset at the mounting plate will steer the wire into the roller edges and cause shavings or jams.
Automation That Fits a Mid-Sized Fabrication Shop
Most mid-sized fab shops don't need a lights-out robotic line that churns out the same bracket all day. What actually moves the needle is targeted automation around the bottlenecks—usually a press brake that sits idle waiting for an operator to flip a 90-pound sheet, or a laser that stops cutting because nobody's around to pull finished parts. A compact cobot cell next to the brake, a simple load/unload table for the fiber laser, or even a sequencing buffer between the punch and the deburring station can free up skilled people for the jobs that still need judgment.
The trick is choosing equipment that doesn't demand a full-time integrator to reconfigure. Magnetic grippers, quick-change end effectors, and software that lets a floor lead teach a new part in twenty minutes tend to stick around longer than the fancy turnkey systems. Shops that do this well often start with one cell, run it for ninety days, then replicate what worked—not automate everything at once. The payoff is less about headcount reduction and more about keeping three machines running with two people while the third handles a rush job without breaking stride.
Switching Between Mesh Sizes Without a Full Retool
Mesh changes tend to get treated as a full teardown job, but that's rarely necessary on modern equipment. Many machines use a cassette-style screen carrier or a quick-release clamping ring. You back off a few bolts or flip a couple of levers, slide the old mesh out, and drop in a different gauge. The main cutting or extrusion tooling stays put, so alignment and clearances remain untouched.
That makes trial runs and custom batches far less painful. A line can shift from 2 mm to 0.8 mm granules in under ten minutes without touching the rotor or die. The real gotchas are tension and sealing. If the mesh isn't seated evenly, you'll get bypass around the edges or premature wear. Keep a few pre-tensioned screens on a rack, inspect the seal strip each swap, and the changeover stops being a rebuild.
Electrode Wear Patterns That Predict Weld Failures
On a production line, electrode wear rarely announces itself with a sudden break. Instead, the tip develops a characteristic shape—mushrooming, faceting, or an off-center depression—that quietly signals how the weld is degrading. A slightly flattened face may still hold current, but the contact area grows uneven, shifting heat distribution and weakening the joint long before any visible crack appears.
Pitting and surface erosion are another tell. When the copper alloy begins to pit, each crater becomes a nucleation point for spatter and gas entrapment. Over successive welds, the pits deepen, and the arc becomes less stable, producing porosity or underfill. This pattern is particularly useful because it predicts intermittent failures—welds that pass visual checks but fail under fatigue or leak testing.
Cracking along the electrode's working edge often precedes a more abrupt failure mode. Micro-cracks propagate from thermal cycling, and once they reach a critical length, the tip can spall during a weld, leaving a deep gouge in the workpiece. Monitoring for these crack patterns—especially in automated cells where electrodes run unattended—allows maintenance teams to swap tips before a bad batch is produced.
What a Factory Visit Reveals That a Quote Can't
A spreadsheet can tell you the unit price, the lead time, and maybe the tolerance on a drawing. It cannot tell you whether the shop floor smells like cutting oil and pride, or like stale coffee and shortcuts. Walking a production line, you notice things no quote ever carries: the condition of the jigs, the way operators handle a part after machining, the quiet pause before someone answers a question about defect rates.
Quotes flatten a supplier into numbers. A visit restores the texture. You might see a quality manager who listens more than he speaks, or a bin of rejected parts sitting near the loading dock with no clear owner. Those observations don't appear on a cost breakdown, but they predict how your order will actually go when the schedule tightens or a tolerance drifts.
Perhaps the most valuable thing a factory visit reveals is momentum. A quote is a snapshot; a walk through the plant is a film. You can feel whether production flows or stumbles, whether people are solving problems or waiting for instructions. That sense of motion—or the lack of it—tells you more about long-term reliability than any line item ever could.
FAQ
Look beyond cycle speed. Pay attention to how quickly changeover between mesh sizes can be completed, whether the control system keeps a history of weld parameters for each run, and how easily operators can reach the electrodes for cleaning. The physical rigidity of the frame matters just as much because flex during welding creates inconsistent pressure and weak joints.
Automation has removed most of the guesswork from setup and operation. Instead of relying on a veteran operator to adjust transformer taps by feel, modern lines use servo-driven positioning, automatic electrode wear compensation, and closed-loop current control that adjusts in milliseconds. This has made output far more repeatable and allowed smaller teams to run larger volumes.
Standard lines are engineered around common mesh dimensions and wire gauges, so they cost less and can be delivered faster. Custom lines make sense when your product mix includes unusual spacing, mixed wire diameters in the same panel, or non-standard width requirements. The real value in a custom build comes from eliminating secondary operations—not just from welding faster.
Electrodes are the direct contact point where current enters the wire, so any pitting, mushrooming, or misalignment creates hot spots and weak welds. Using water-cooled copper alloys with the right hardness prevents rapid wear, but you still need a maintenance schedule. Poor electrodes often hide in plain sight as increased scrap rates and inconsistent tensile strength.
Yes, but not without limits. Many modern lines can switch between a range of diameters—say 3 mm to 8 mm—and adjust mesh spacing via programmable positioning of the welding heads. The trade-off is changeover time: quick-change fixtures and stored recipes make multi-product lines practical, while frequent full resetting can kill productivity if the design lacks that flexibility.
It turns welding from an open-loop process into a managed one. By tracking current, pressure, and time for every single weld, the system can flag drift before it produces rejects. You get an early warning for things like electrode wear, air pressure drops, or incoming wire hardness variation instead of discovering them through destructive testing at the end of a shift.
The biggest savings come from using medium-frequency DC inverter technology instead of older single-phase AC. It delivers a smoother current waveform that focuses heat into the weld zone, which means you can often reduce total power draw while improving weld consistency. Add to that automatic standby modes and fine-tuned weld time settings, and energy per ton of mesh drops noticeably.
Daily electrode inspection and dressing are non-negotiable. Beyond that, keep pneumatic lines dry, check transformer cooling water flow weekly, and recalibrate the pressure sensors every few months. Many breakdowns start with something simple like a loose busbar connection or dirty linear guides, so a short, disciplined routine prevents most unplanned downtime.
Conclusion
A spec sheet gives you dimensions and motor ratings, but it won't show whether the line holds dimensional tolerance after three weeks of continuous welding. That knowledge comes from how the machine handles wire tension and alignment. Put the straightening unit right before the welding head, not back by the decoiler—every extra meter of travel between straightening and welding invites a jam. When evaluating manufacturers, ask to see a line running your actual wire diameter and mesh pattern, not a demo reel. A factory visit lets you watch how the machine recovers from a misfeed and whether operators can reach the tooling without crawling under the frame. Quotes hide those realities.
For a mid-sized fabrication shop, full robotic lines are overkill, but manual wire feeding caps your output. The right fit usually sits in the middle: automated mesh positioning and weld sequencing without conveyorized part handling added on. One feature worth probing is changeover. If switching from a 100mm by 100mm mesh to 150mm by 50mm means swapping six sets of guides and re-zeroing the electrode bank, you will lose half a shift. Look for lines where the cross-wire spacing is set by quick-release stops or servo-driven pitch adjustments. Electrode wear is another hidden cost. Learn the failure pattern: copper electrodes don't just erode evenly—pitting starts near the wire contact edges, and that pitting predicts inconsistent nugget formation before a full weld break. A good manufacturer will tell you how many weld cycles to expect and show you the wear curve, not just the replacement part price.
Contact Us
Contact Person: Sophia Jiang
Email: [email protected]
Tel/WhatsApp: +86 17367381818
Website: https://yzwelding.com/